
1. Introduction to the Matte Paint process. Part I
a. Building a basic paint in Photoshop.
Summary – this tutorial it’s meant to provide a brief overview, on how to set up our 2D paint, for a successful matte paint project.
 Setup workflow – change the color bit depth in Photoshop. By default is set on 8bits and we have to change it to 16bits/channel. On short, this will allow us to paint in a wider color range, from 256 values per channel to 65,536 values per channel.
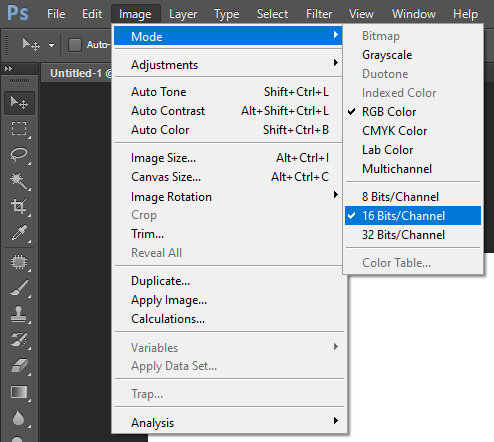
Go to Image >Mode >16Bits/Channel –just like in the image on the left.
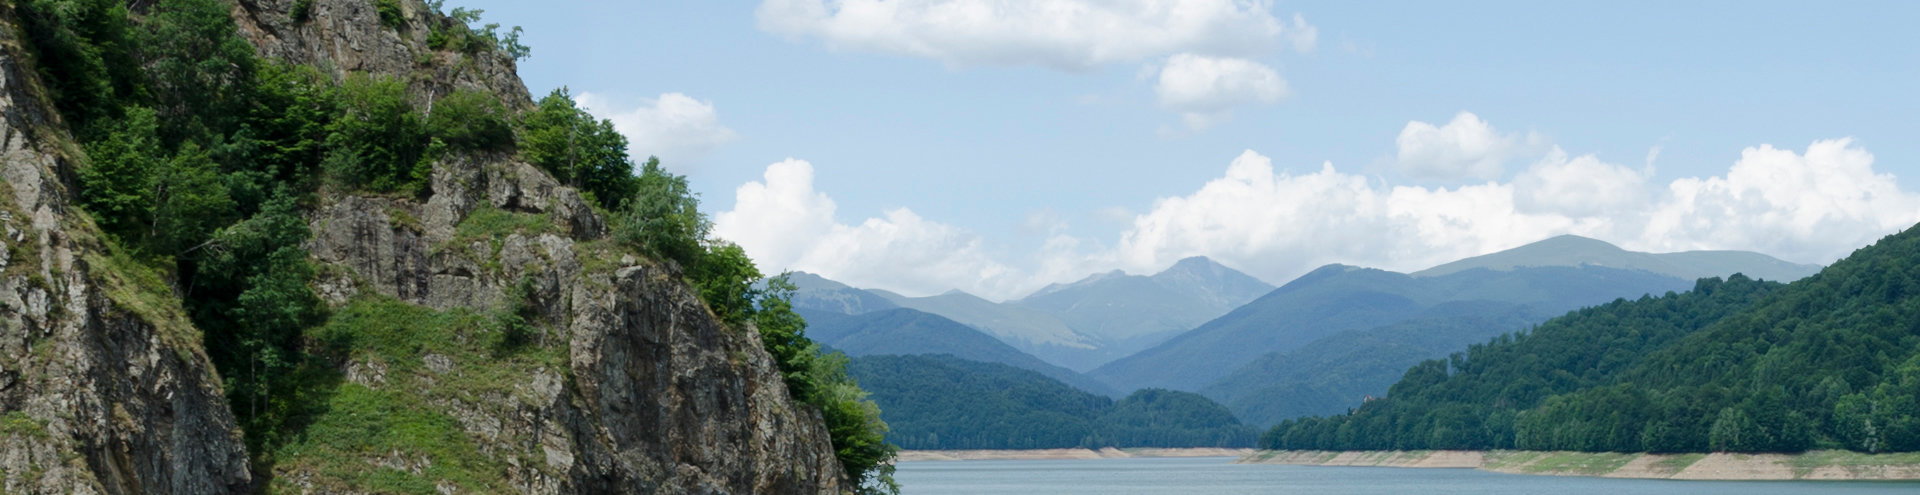
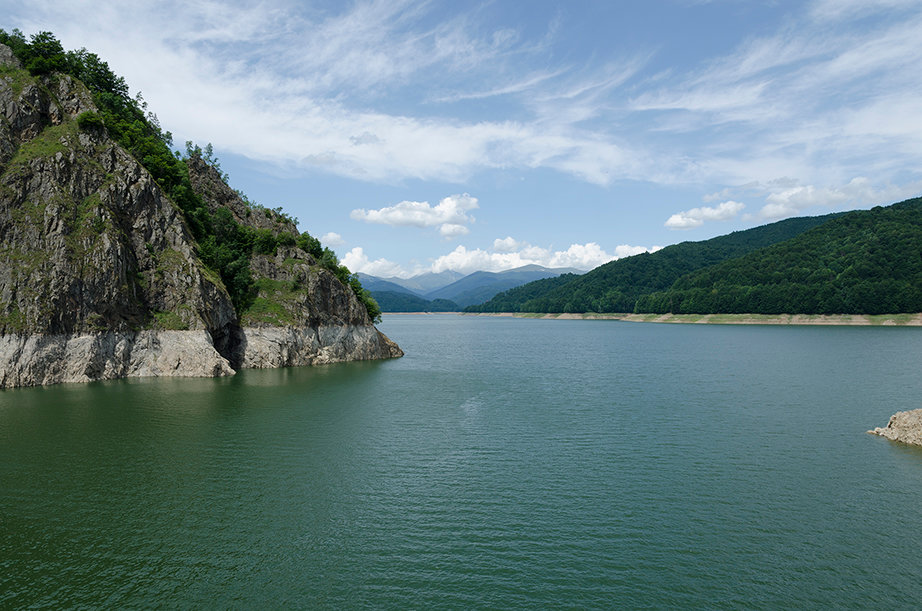 Image to start – I choose an image that I shoot in a raw format, so we can have 16 bits/ channel depth and not a flattened JPEG at 8 bits/ channel. That will provide more information when further color adjustments it’s added to the image.
 On the left side you will see the image which I will split in multiple layers. These layers will be used to build the camera projection in Nuke.
Note: the professional, production standard it is 16bits workflow in Photoshop. I will cover this with extended explanations in Chapter2.
Note: At this stage you can either continue with this image, or find your own photo. The intention is to take a picture that will help use to build some parallax, later in Nuke.
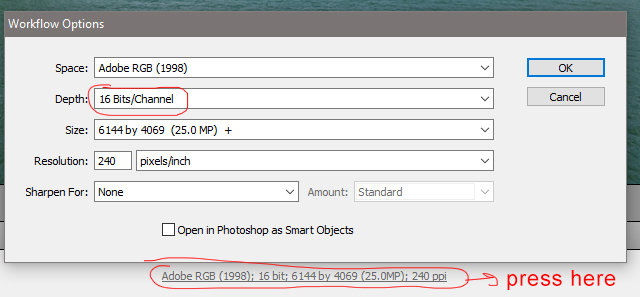
In the ref folder, you can find the tiff 16 bit version of this image and also the raw as shot with the camera.You can use the raw file too, but change the settings to 16bits from 8bits, when you save to Photoshop (this is at the bottom of the raw file interface). Currently this tutorial is not covering the interface of the raw files menu in Photoshop. See image on the left.
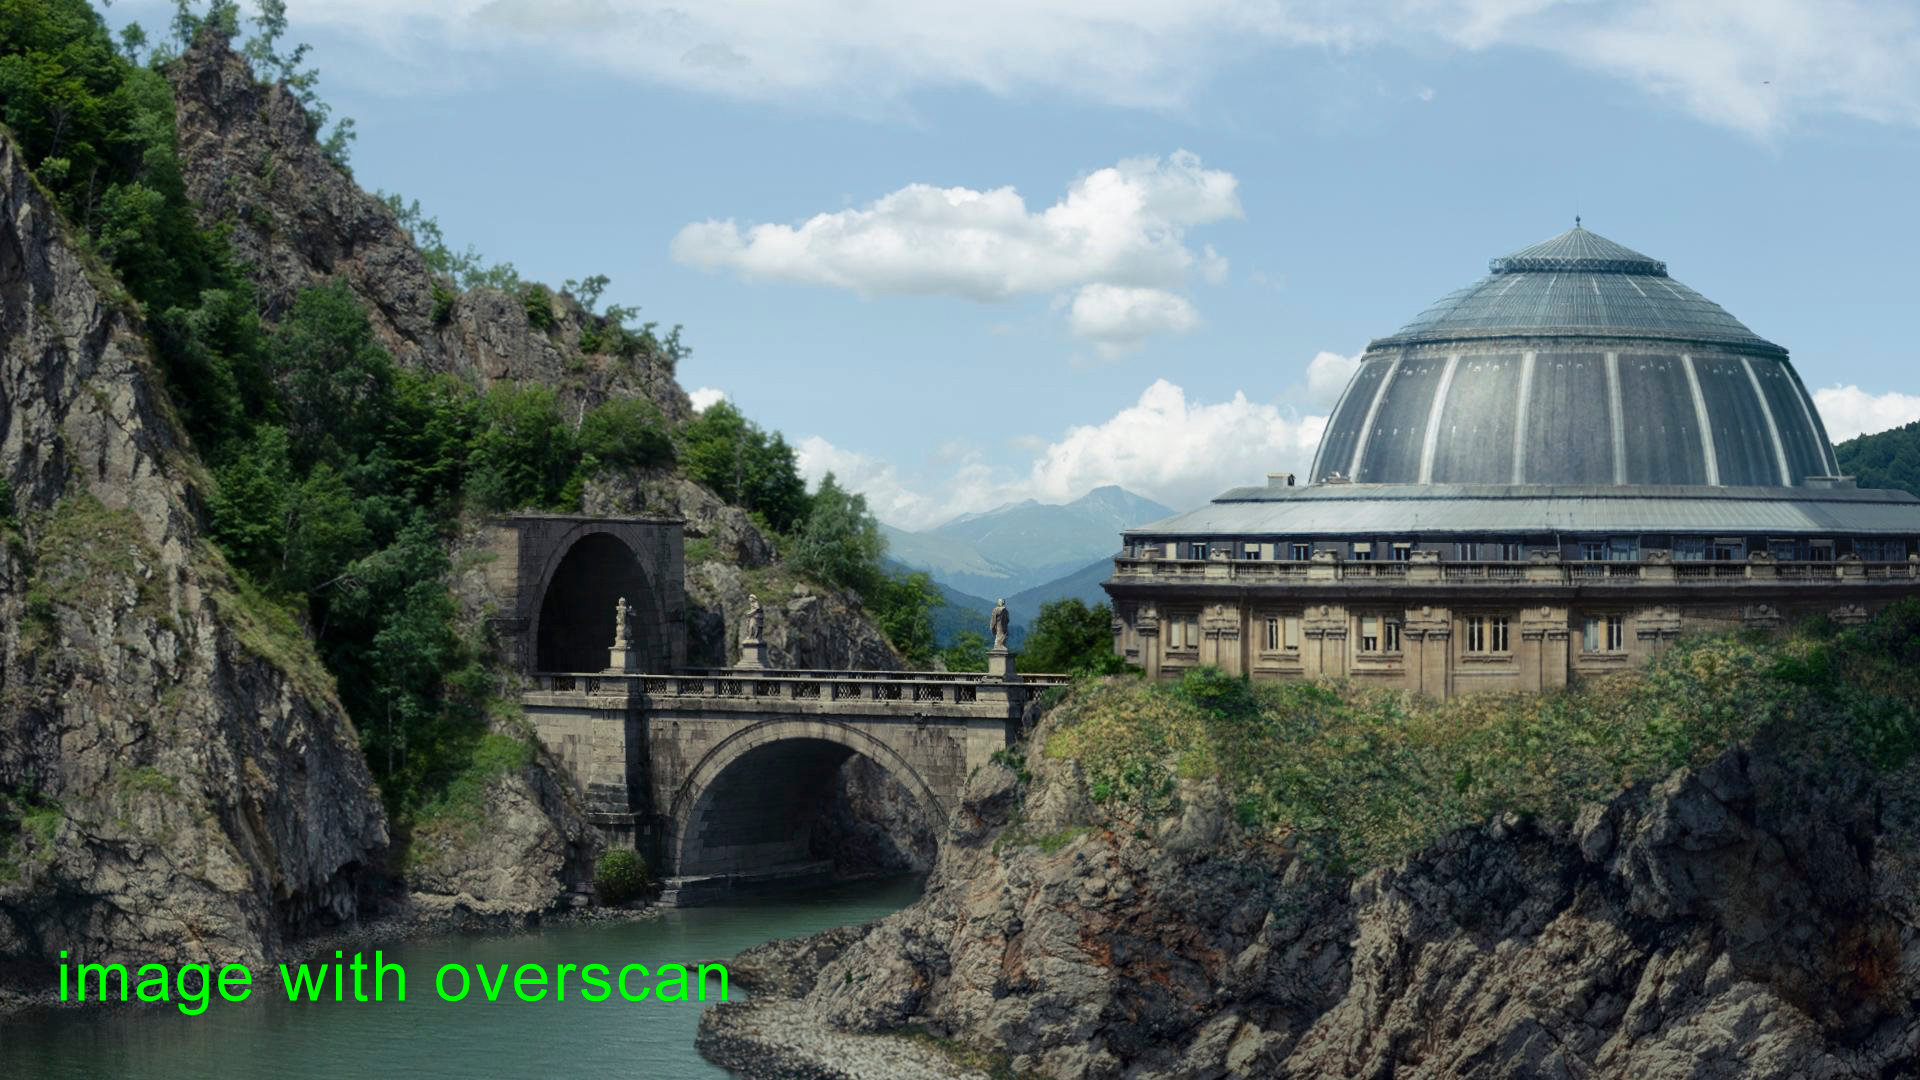
Resolution – the current resolution will be Full HD 1920 x1080px plus Overscan 600px on both sides (the new resolution will be 2520×1680px).
Note: the use of Overscan will be explained bellow.
File Saving – save the file in PSB format. This extension is optimized to handle large files formats in Photoshop.
Naming convention – common naming convention will be like this: NAME OF THE SHOW_name of the shoot projected frame number_departmant_your name_version.psb or
DMP_tut01 _fr1001_dmp_name_v001.psb
Following you can see the image split it in multiple layers, based on the distance from the camera:
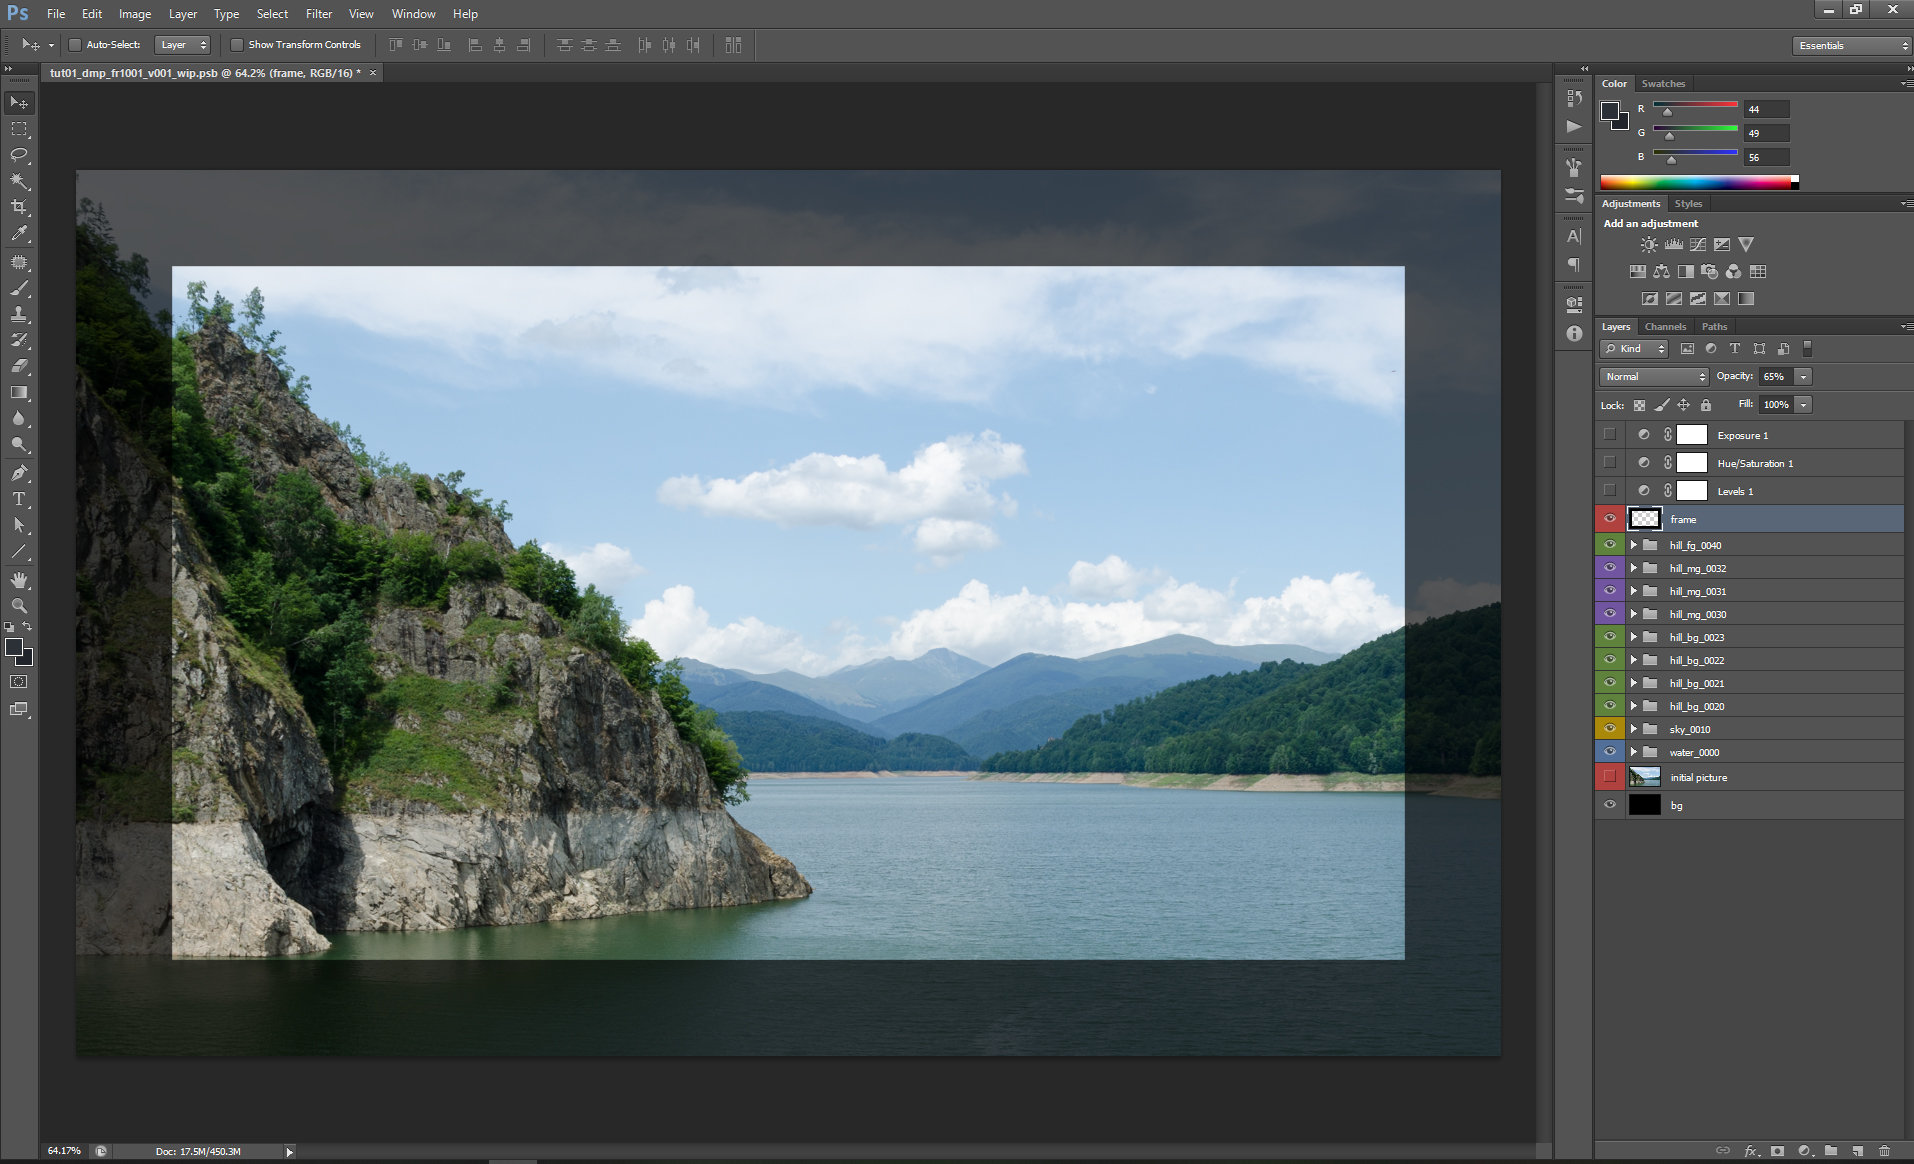
In this image, you will have a basic description over how I split the work. Will be explained in details bellow:

OVERSCAN
An extension of the picture’s resolution that is kept outside of the visible boundaries. Think of this like an extra space around standard TV format. This is the area outside of the Full HD painted image.How to create Overscan – based on our project’s resolution (full HD format -1920×1080px) these are two of the most common way to create overscan:
a. We can simply extend in Photoshop the canvas size with few hundred pixels. For instance I added 600px
wide and 600px high. From full HD 1920 x 1080px), my current resolution is now 2520×1680px. This is an
arbitrary extension; you can add 100px up to whatever you think it is reasonable for the project needs.
b. You can adjust the Overscan parameter for the ScanlineRender node in Nuke. (this will be covered in the second part of this tutorial).
The Overscan’s purpose: – camera lens distortion it is a major reason. Every lens in particular, has a certain image distortion that can be removed digitally and reapplied over the final CG, in order to match the original plate.
Note: plate – is the original video that was shot on site by the client.
client – the owner of the movie that you are working on.
Applying a distortion over an undistorted image or vice versa, sometimes may create empty space at the edge of the plate that needs to be covered with extra paint. In order to avoid that empty space we can solve the problem by extending the painting details in the overscan. See the examples bellow, for how a distorted image looks with and without overscan:

– camera shaking or use of a stereo camera are some examples of why it is a good habit to have overscan in your 2D paint.
Adjustment layers to help match the colors.
Use the Exposure layer and the Hue/Saturation: by pushing up and down their parameters you can correct the values between the original plate and any other images gathered from external sources. In rare cases you can also add the Levels adjustment layer but usually the “Exposure“ and “Hue/Saturation” adjustment layers should be enough . It is a good habit to have them at the top of your layer sacks in Photoshop. I will extensively explain their use, in the second chapter.Actual layers of the DMP
Here are the layers I will use to build the matte paint. I simply split the image, in multiple layers. Then I used the clone stamp tool to extend the borders of each layer. When the render camera moves the layers cut will not be visible. Each layer is placed within a folder group with a descriptive name.Very important: change for each group folder, the blending mode from Pass Through to Normal like in the image bellow:
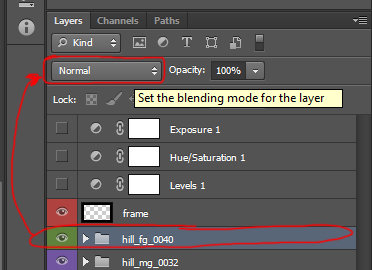 This setup is the standard in the industry. Here are two reasons behind the idea of having all the folder groups set on normal:
a. Studios with a solid pipeline will have tools that will export the layers from Photoshop to Nuke and you will not be able to export the folder groups if these are not set on Normal.
b. If you have blending modes between layers or color adjustments inside a folder group, they will affect only the elements inside that folder group. If you keep the folders on “Pass through” any color adjustments and blending modes within that group will affect the groups bellow. When you will send your paint from Photoshop to Nuke it will not have the same look.
For the Folder Group naming, I added 4 digit numbers with the intention to keep track the merging order in Nuke. This is a common naming procedure for DMP, but not a rule of thumb.
ex: water_0000 will be bellow sky_0010
Additional Layers
Any other layers that can help you build your matte paint. They do not have to be part of the final layout for projection. This is arbitrary and depends on every artist`s workflow.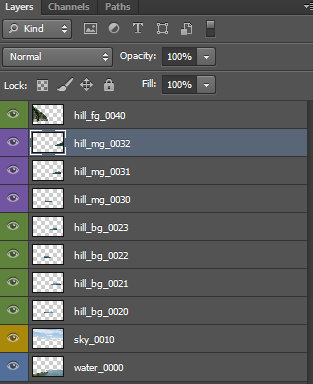 Now that everything is set up in Photoshop, I will have to create a clean PSD file(with only the DMP layers) that I will use in Nuke to create the projection. We will merge every folder into individual layers. You can use either right click the folder group and select Merge Group from the menu or, press CTRL+E while having the group selected.
Then remove all the layers that you will not use in Nuke and your layer stack should look like the image on the left side. Next step is to save the scene as PSD because this is a handy format for Nuke.
Note: Normally in productions with a solid workflow collapsing folders and exporting 32 bit EXR layers will be done automatically.
At this stage you would be done with your work in Photoshop. For this tutorial, you will find an EXR version exported in the EXR’s folder.
Here we are ending our 2D part of the first chapter; next we’ll learn how to set up a basic projection in Nuke and to render our first matte paint.