
2. Linear workflow with color depth and color adjustments – Part I
b. Grading in Photoshop
Once we understend the reason we use linear workflow and how to take advantage of the pixel depth value, let’s see how we can use this information for color adjustment in Photoshop.
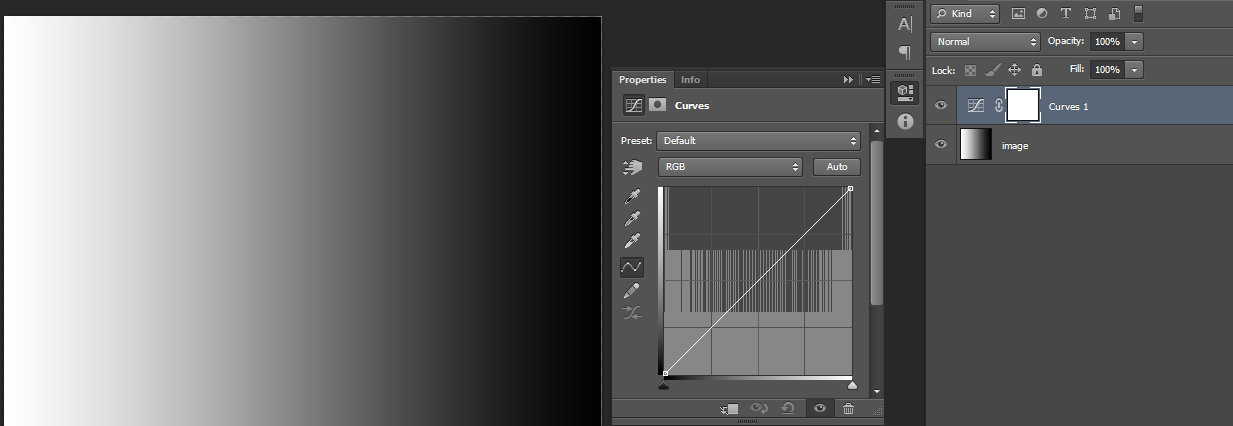 curve – the most powerful tool in Photoshop for color adjustment. We can use it for changing colors, clamping values, creating contrast, etc.
 white clamp – we push the dot down, from extreme right up, so we can reduce the values for white. We use this technique for matching the white intensity between multiple dmp layers.
 black clamp – we push up the dot, from extreme left down so we can lift the values for black. We use this technique for matching the black intensity between multiple dmp layers.
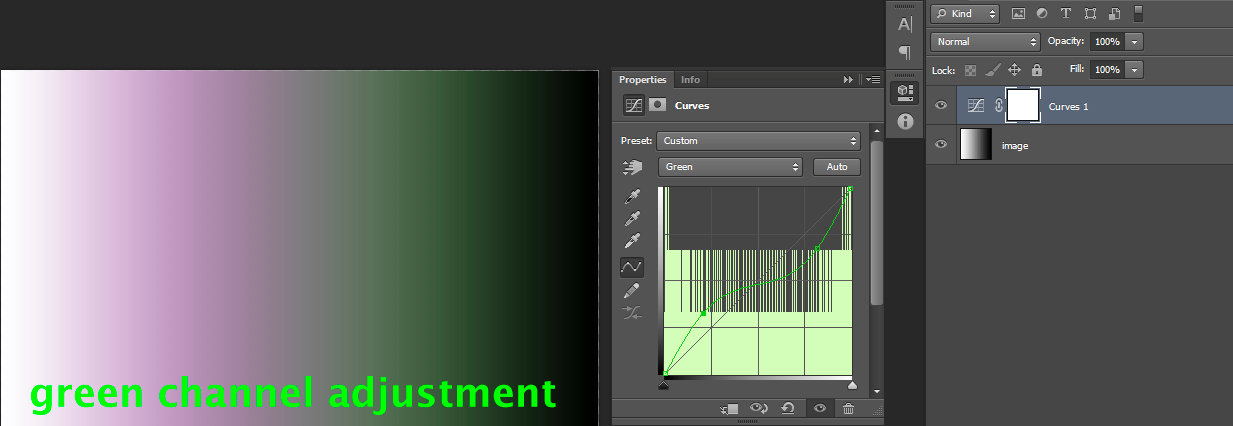
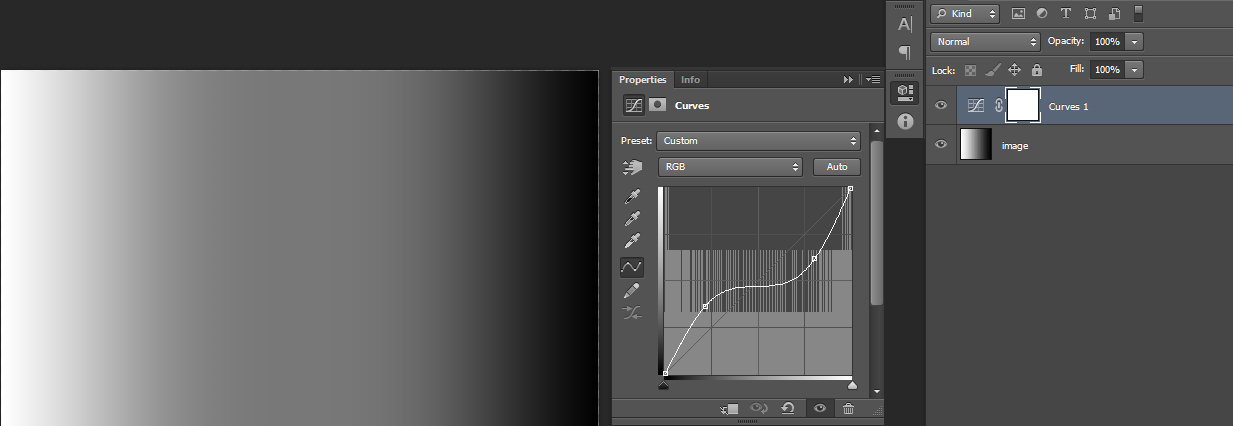 dark and bright adjustments – we can add as many points as we need, along the RGB curve, in order to refine our grading. This is valid for the red, green and blue channel’s curves too.
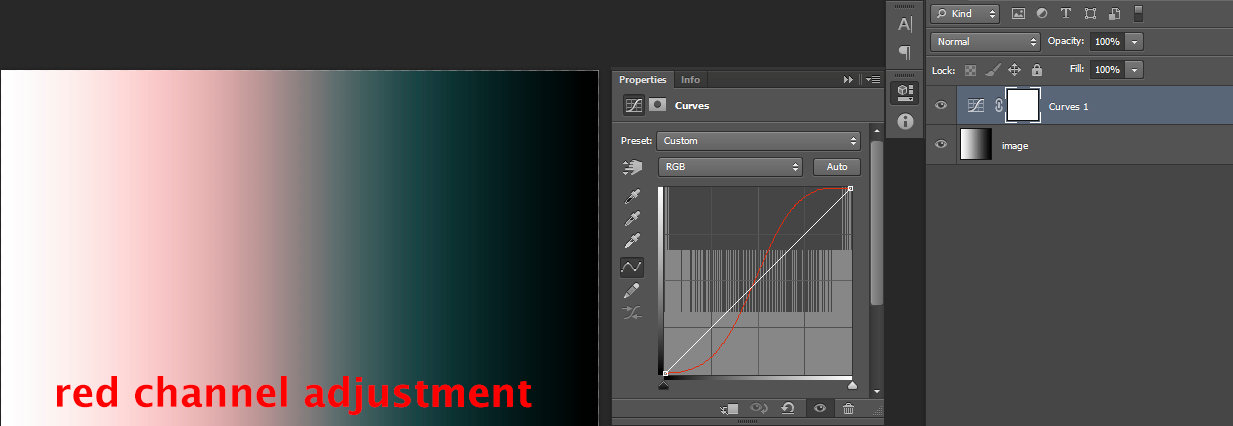

clamp dark values with a flat painted value.
Create a normal layer; change the blending mode to Lighten and everything you paint on it will be clamped to that painted value.

clamp white values with a flat painted value.
Create a normal layer; change the blending mode from normal to darken and then everything you paint on it will be clamped to that painted value.

Note: We use these two clamping methods also for matching the values between multiple dmp passes. This is a brutal solution, less refined compared with the curve clamping.
Using curve for clamping the values, gives the advantage of keeping details from the texture information of our layer. Simply painting it, whit a flat color, will flatten it. You have to be aware of the advantages and disadvantages of both cases and use the right version for your needs.
color paint
Create a normal layer; change the blending mode from normal to color. This will allow us to tint the values of the layers bellow, to the painted one.

Note: Please take your time at this point, to explore on different images, the color adjustments presented above.
Next we will move to a practical exercise so we can see how we can use the above methods for a matte paint workflow.